A few months back I (finally) tried to get started into bug bounties. The bounty I chose for this first try consisted of a set of different security products. The vendor was offering for this purpose online web instances with testing accounts, but after some digging I realized that those same products were also available in the vendor’s site as downloadable trials in the form of virtual appliances, which got me thinking: “why dealing with a black-box testing scenario if I can get access to the whole code and turn it into a white-box assessment/code review task?”. In this post I will detail the process I followed to gain full root access to the appliance.
After downloading the VM I thought it would be as easy as using the account given with the trial to have root access, how naïve I was! The account was not for the OS but only for the web interface. Since the VM was running on Linux my first approach was to use the well-known techniques for booting into single-user mode and resetting the root password, but GRUB was password-protected. Luckily for me years ago a GRUB password used by the same vendor was leaked and they were still using the same password, in this way I could get acccess to the GRUB menu.
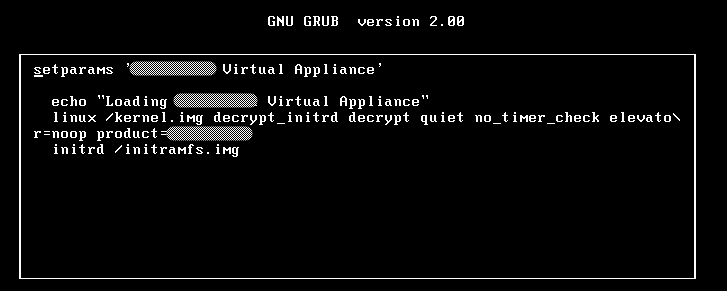
I tried adding boot options such as “init=/bin/bash” and “single”, but none of them dropped me into a shell prompt, which indicated the vendor had customized/hardened the kernel, time to search for another approach.
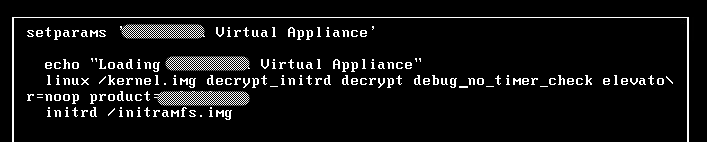
From the boot command-line we can observe some interesting things: it uses a RAM disk called initramfs.img and we can assume such file is encrypted (we see an option “decrypt_initrd” and another one “decrypt”). The decryption process is performed automatically, so the keys should be somewhere in the partition, right? I needed to find where and how to extract them. The next thing I tried was attaching the VM HD to a different VM and see what files were there.
After booting up I could see 5 encrypted partitions and 2 not protected, one of the latter corresponded to the boot partition and had nothing out of the ordinary. I decided to copy the files from the boot partition to my host to analyze them and try to understand how the boot and decryption processes worked.
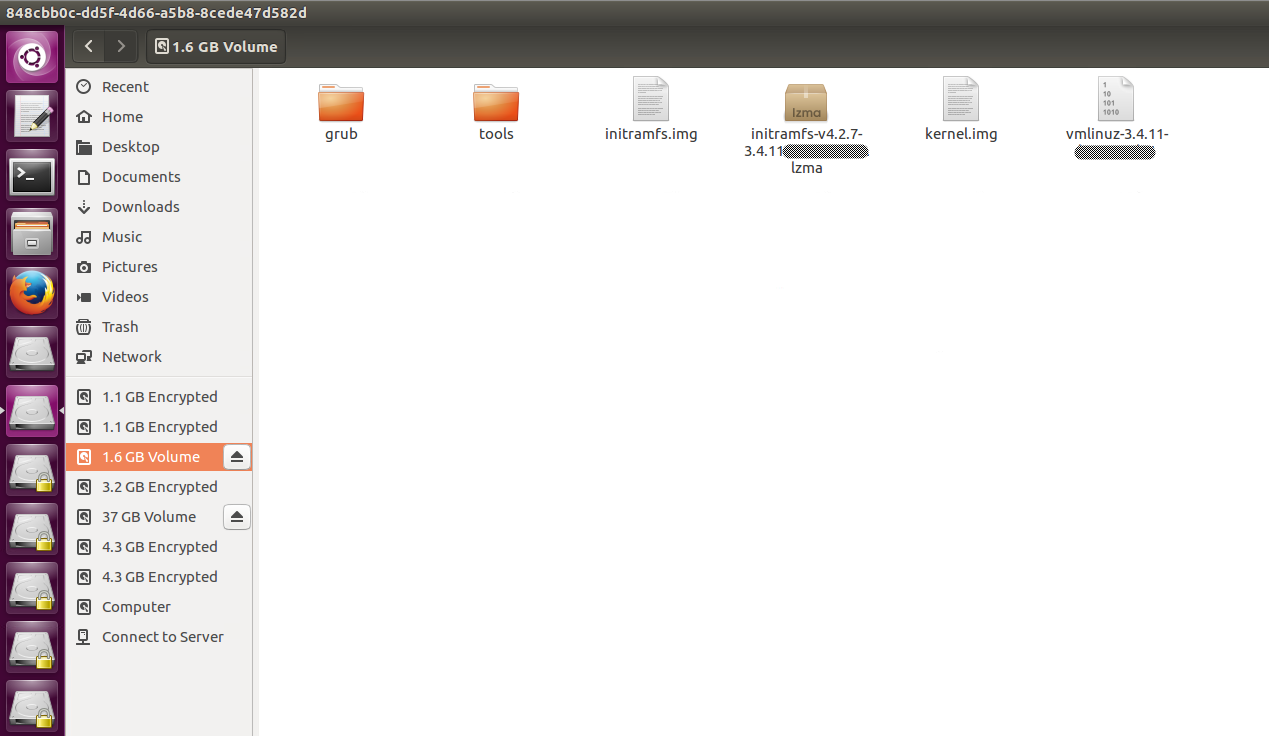
When I ran file on these files I confirmed my initial theory about the RAM disk being encrypted (file could not find any signature and the were no readable strings either).

With the help of binwalk I extracted the kernel from the boot image.


Once I had the kernel file I started some static analysis on it. First I looked for the strings used as boot options and their xrefs, this led me to find other boot options supported by the kernel.

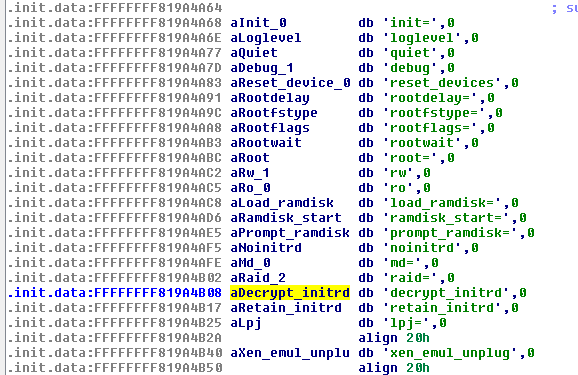
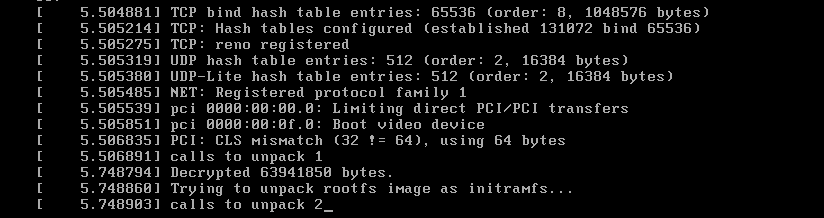
One of the discovered options caught my attention: debug, so I replaced the “quiet” option with this and booted the VM. What I saw was a bunch of debug messages (what a surprise!) during the boot process, but once again I found two interesting strings: “Decrypted 63941850 bytes” and “Trying to unpack rootfs image as initramfs…”
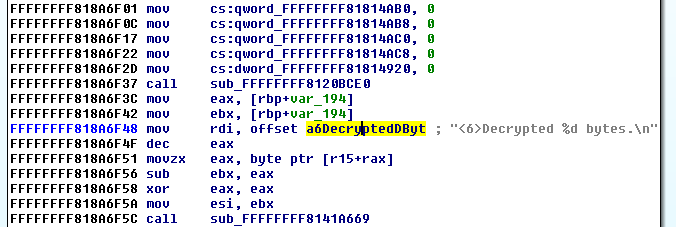
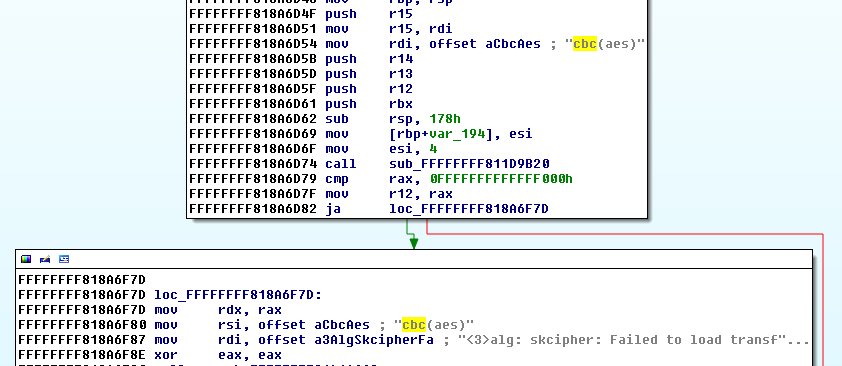
Thinking the first message was directly related to the decryption process, I searched for it and its xrefs. The search took me to a function with other messages that confirmed that the function was decrypting the file and gave me information about the cipher being used, I renamed the function as Decrypt().
At this point I could have tried to reverse the whole function to learn how the decryption key is derived and recover it, however I was not that interested on the key itself but in the contents of the RAM disk, and I didn’t want to spend unnecessary time on static analysis, so I decided to let the kernel do the work for me and decrypt the disk.
In order to achieve this I had to move to do some dynamic analysis using qemu and gdb. I ran the original kernel image within qemu using the same boot options I had extracted from the GRUB entry. Also, I had to tell qemu I wanted it to use my RAM disk and enable support for gdb.

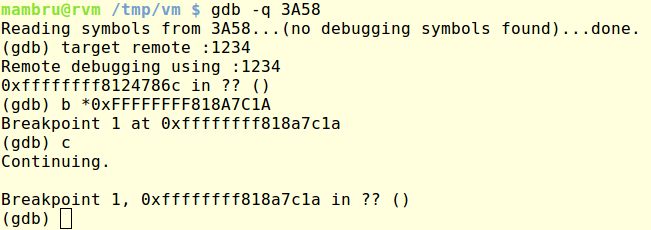
After qemu started executing the kernel I could attach gdb and control its execution. Because of the debug messages I knew where I had to pause the execution to allow the kernel completing the decryption but I didn’t know yet where to find the decrypted contents. I made an educated guess and assumend that Decrypt() received as argument a pointer to the encrypted contents. Going back to the code I traced back the origin of its arguments and found that rdi was set at address 0xFFFFFFFF818A7C1A and set a breakpoint there.
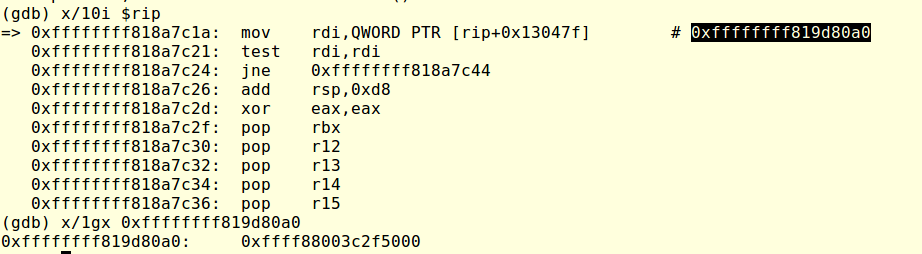
I followed the pointer written to rdi and dumped the memory contents of 0xFFFF88003C2F500 (the location it was pointing to) to confirm that it contained the initramfs.img data.


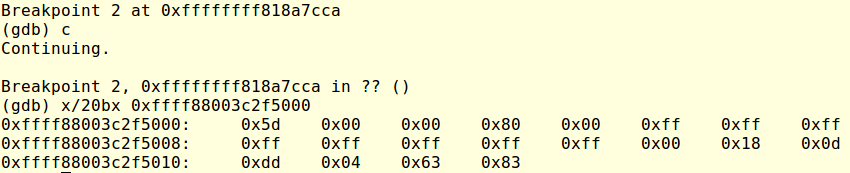
I was expecting to find the decrypted contents at the same location so I set a breakpoint at 0xFFFFFFFF818A7CCA (the address where Decrypt() returns to) and dumped again the memory to see that their contents had changed, indicating they had been decrypted. Next I dumped the full contents to disk, thanks to the earlier debug message I knew I had to dump 63941850 bytes.

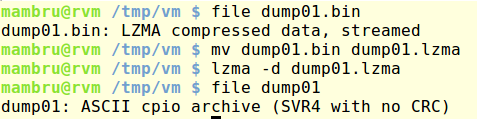
I ran file on the new dumped contents and saw that it was a compressed file, uncompressed it and got a CPIO file that after extraction got me a bunch of Linux folders. Everything showed I had successfully recovered the RAM disk contents.


It didn’t took too long to find a folder with files that seemed to be the keys to decrypt the protected partitions of the virtual disk.

With access to the keys the rest was straightforward, I only had to attach once again the virtual disk to a second VM, decrypt the partitions from there and mount them. In fact, I only had to target the root partition to add entries to passwd and shadow files and get a new account ready on the OS.


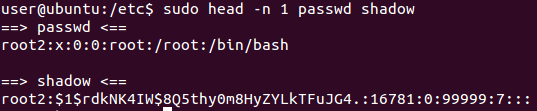
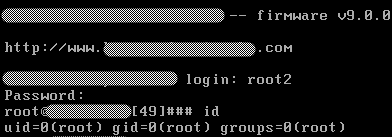
As final step I put back the virtual disk into the original VM and booted it up, this time I could login with the new user and got root privileges.